

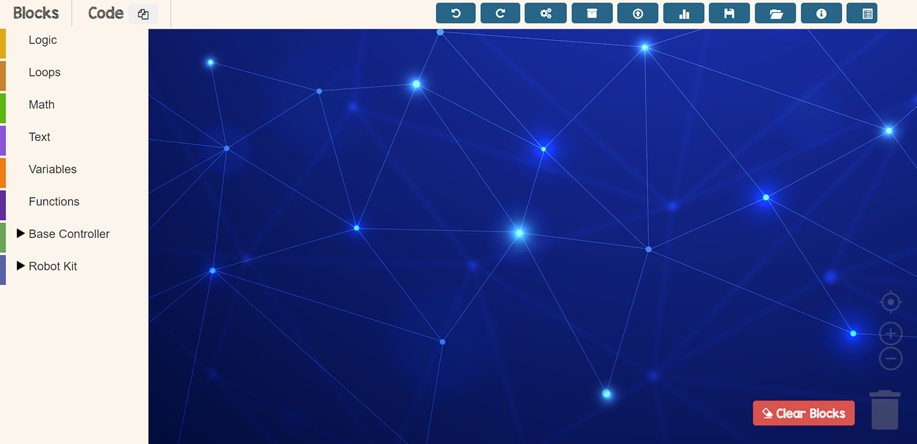
First Step
Open TinkerCode app in your browser
Click here to go to TinkerCode app!
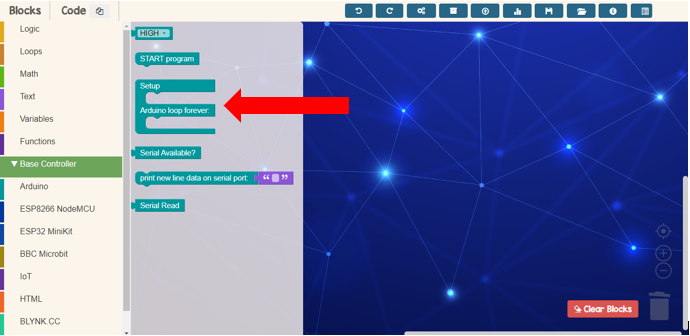
Second Step
Drop setup/Adruino loop from Base Controller menu
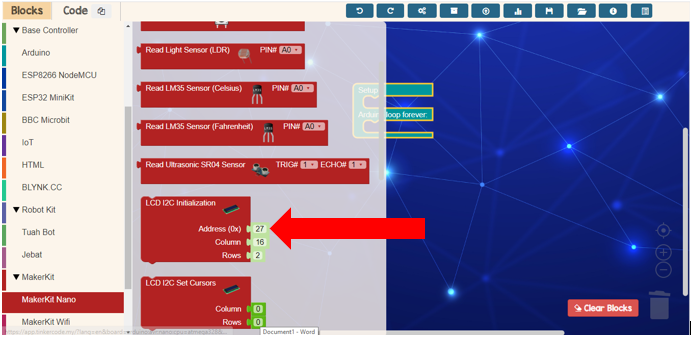
Third Step
Go to Makerkit Nano and choose LCD 12c initialization
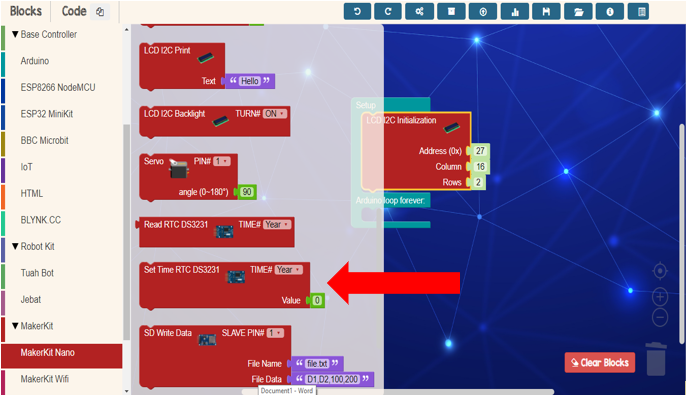
Fourth Step
Go to Makerkit Nano and choose set time RTC block
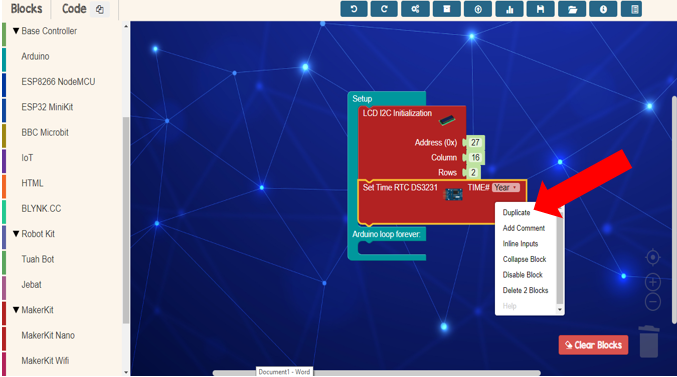
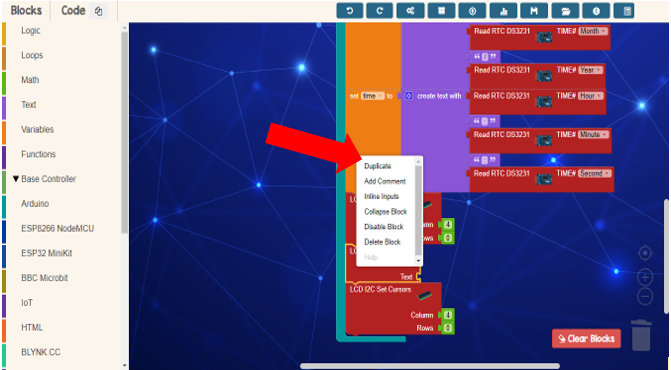
Fifth Step
Duplicate set time RTC block
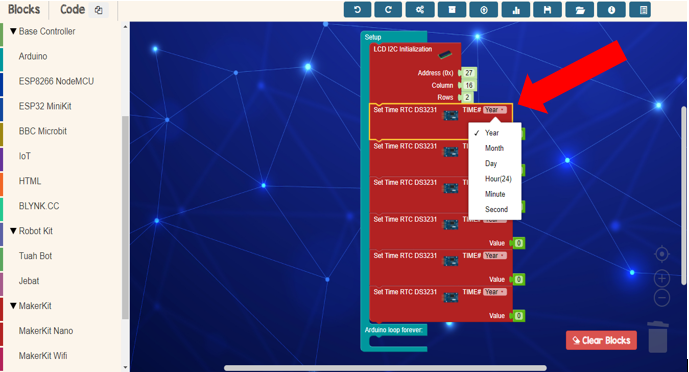
Sixth Step
Set the time and value for each block
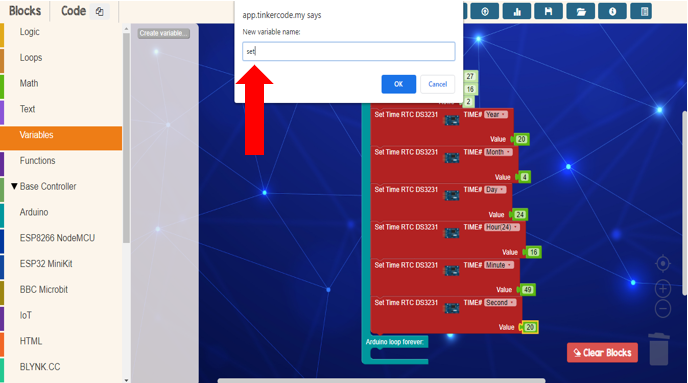
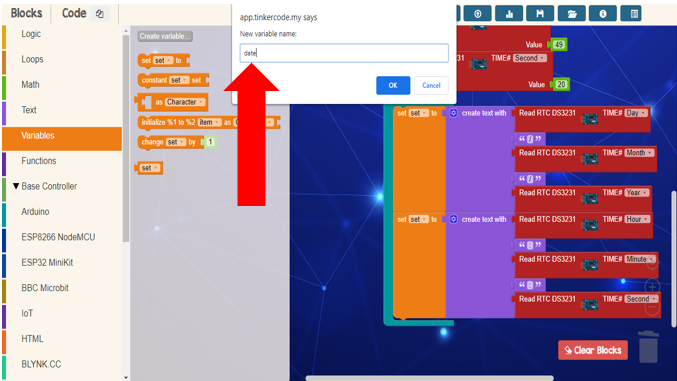
Seventh Step
Go to variable and create variable name
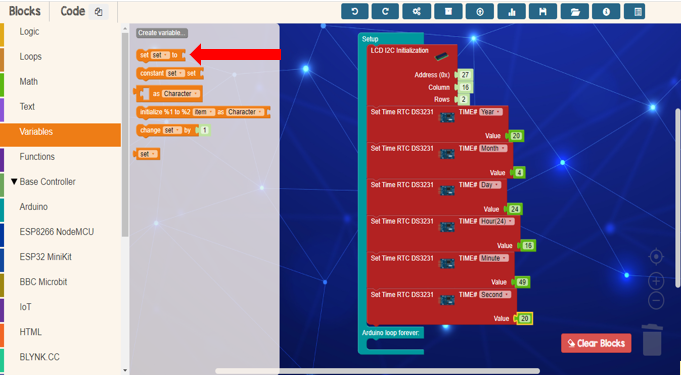
Eighth Step
Drag set variable into Arduino loop column
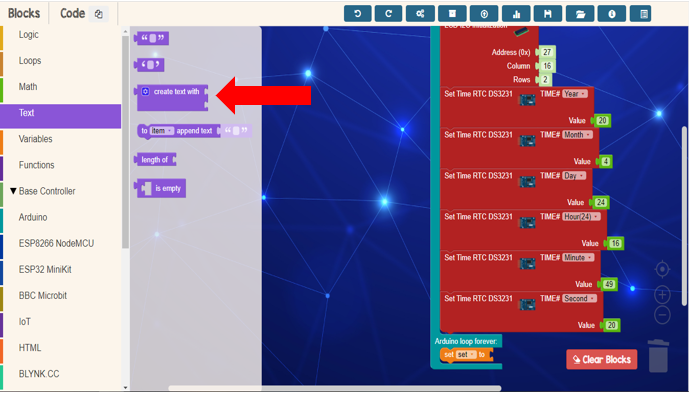
Ninth Step
Go to text and choose “create text with” block
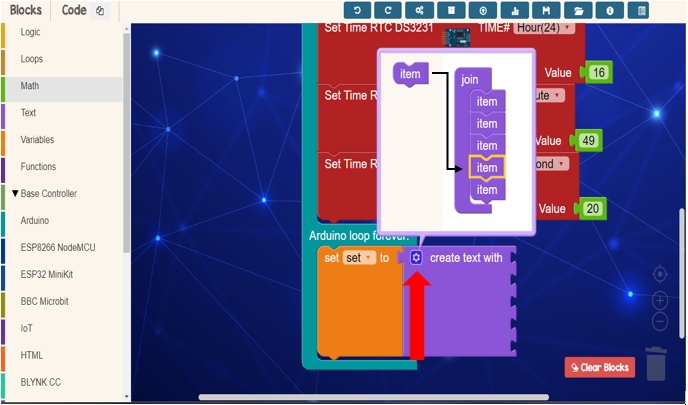
Tenth Step
Add item at create text with block
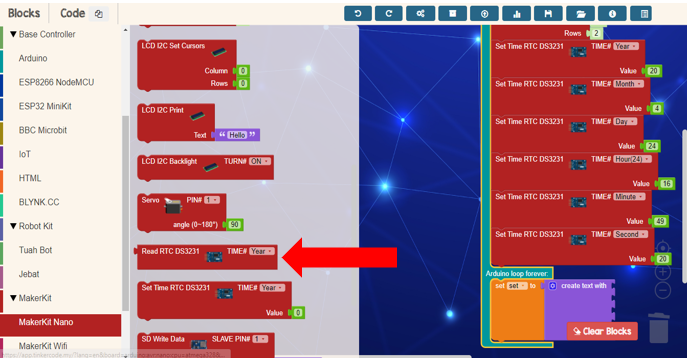
Eleventh Step
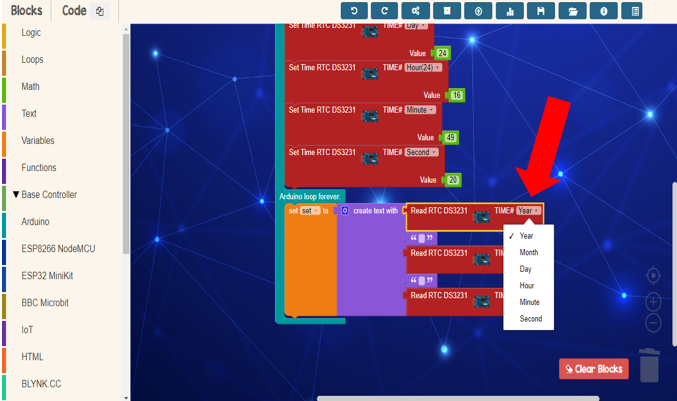
Go to Makerkit Nano and choose read RTC block
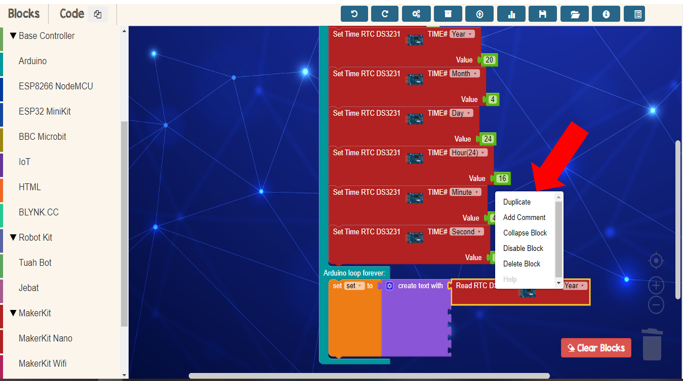
Twelfth Step
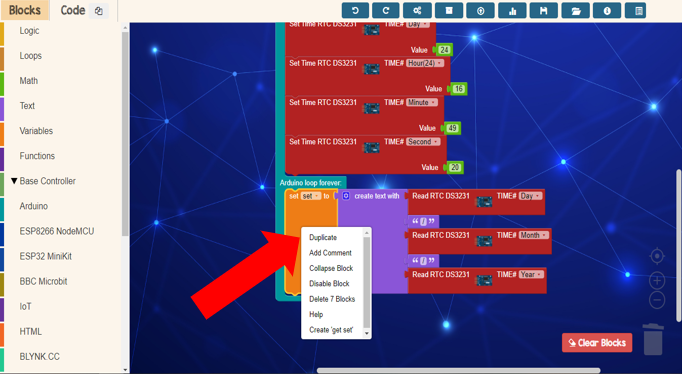
Duplicate “Read RTC ” block
Thirteenth Step
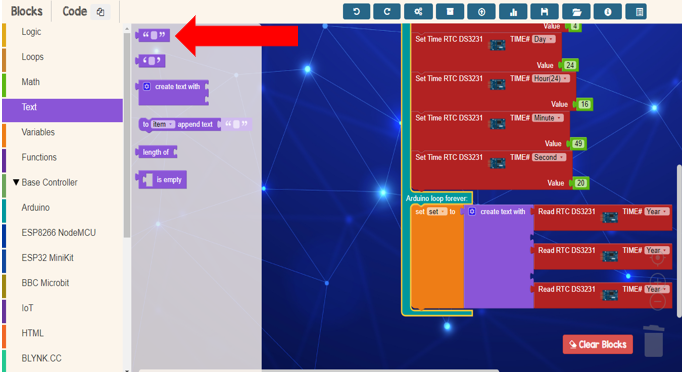
Go to text and choose the block ” ” block
Fourteenth Step
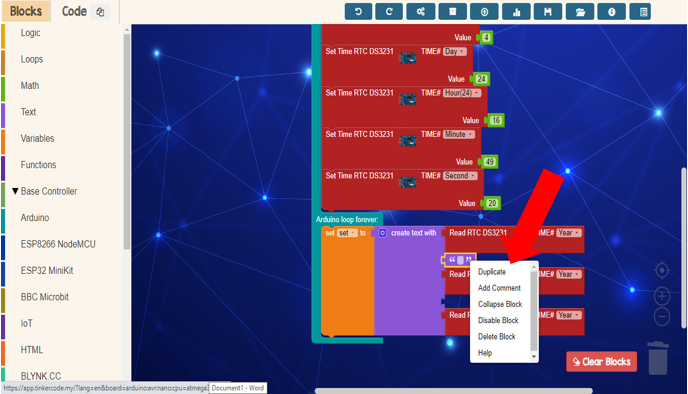
Duplicate the ” ” block
Fifteenth Step
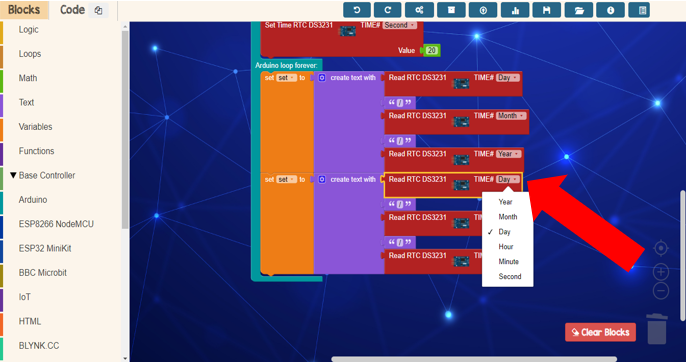
Set the time for the date
Sixteenth Step
Duplicate the block
Seventeenth Step
Set the time for the time
Eighteenth Step
Go to variables and create new variable for time and date
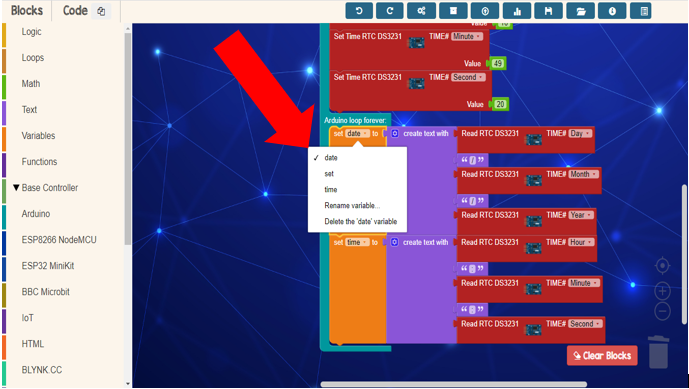
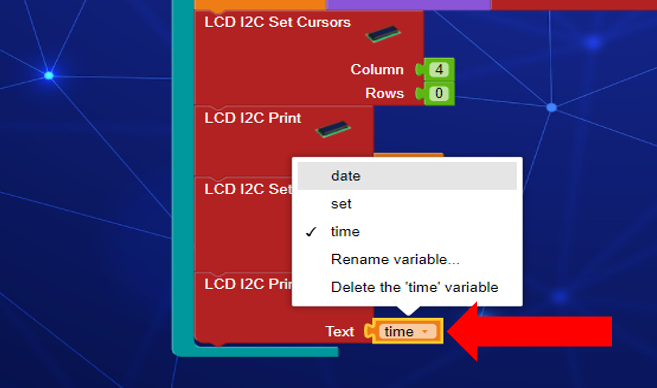
Nineteenth Step
Change set to date and time
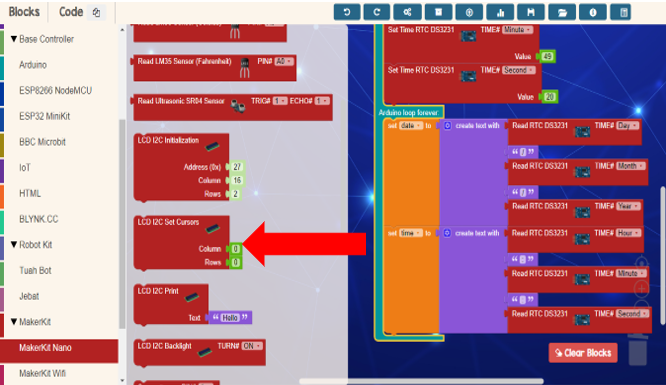
Twentieth Step
Go to Makerkit Nano and choose LCD12 set cursors block
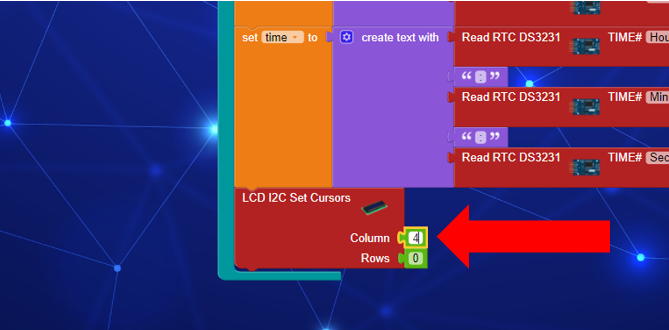
Twenty first Step
Set the column
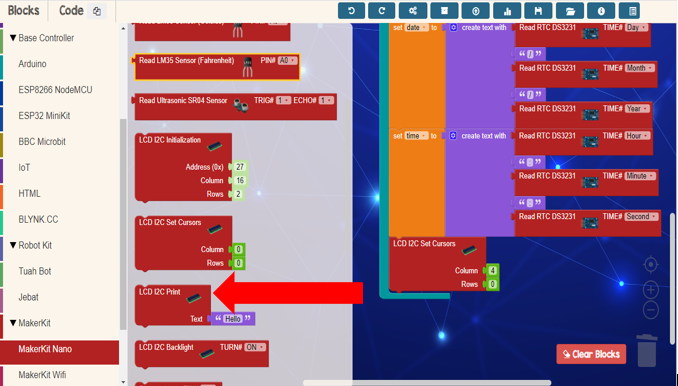
Twenty second Step
Go to Makerkit Nano and choose LCD12C print block
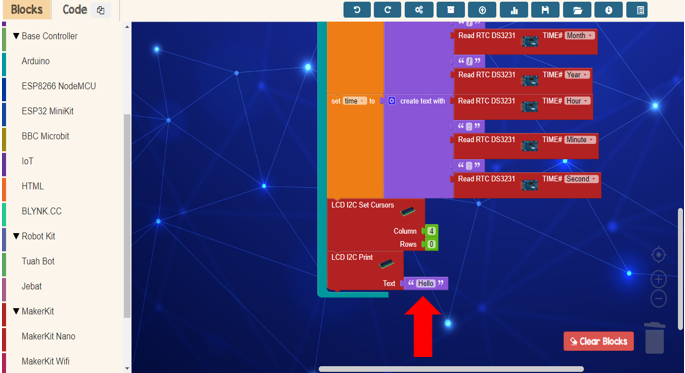
Twenty third Step
Delete the ” ” block

Twenty fourth Step
Go to variables and choose date block
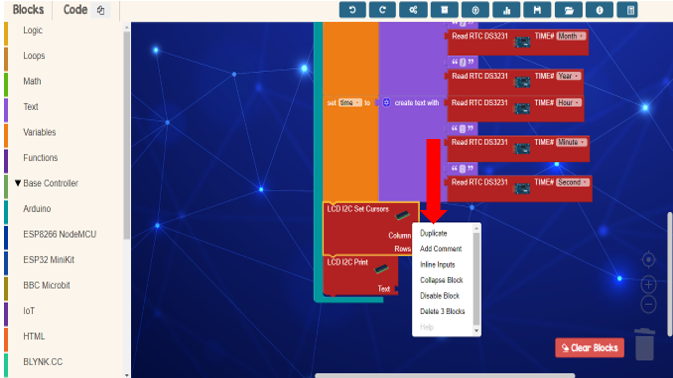
Twenty fifth Step
Duplicate the LCD 12C set cursors block
Twenty sixth Step
Duplicate the LCD 12C print block
Twenty seventh Step
Change date to time
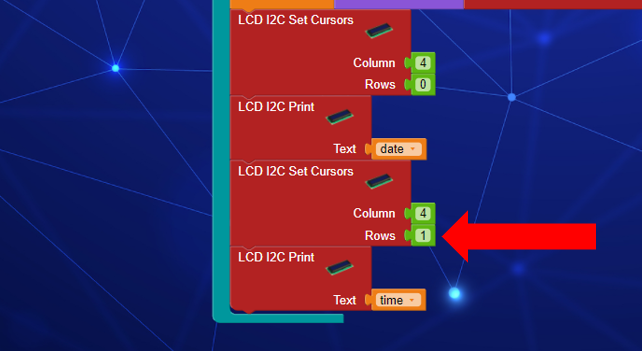
Twenty eighth Step
Set rows
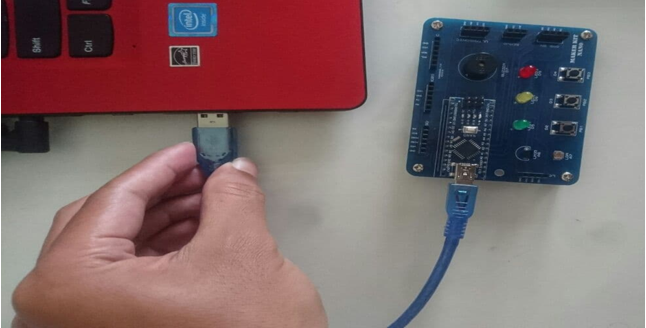
Twenty ninth Step
Plug in Makerkit Nano to USB port
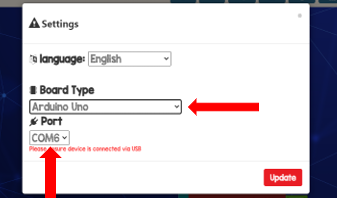
Thirtieth Step
Update board type and port
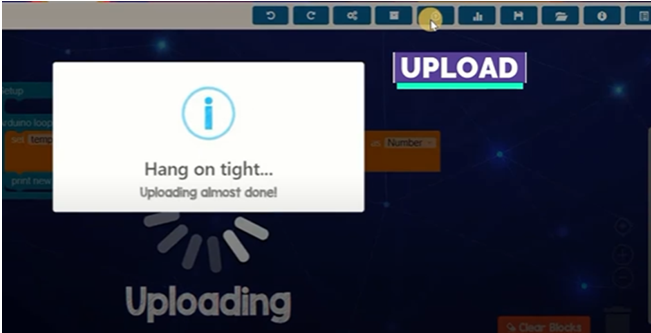
Final Step
Upload the code and wait until finish uploading
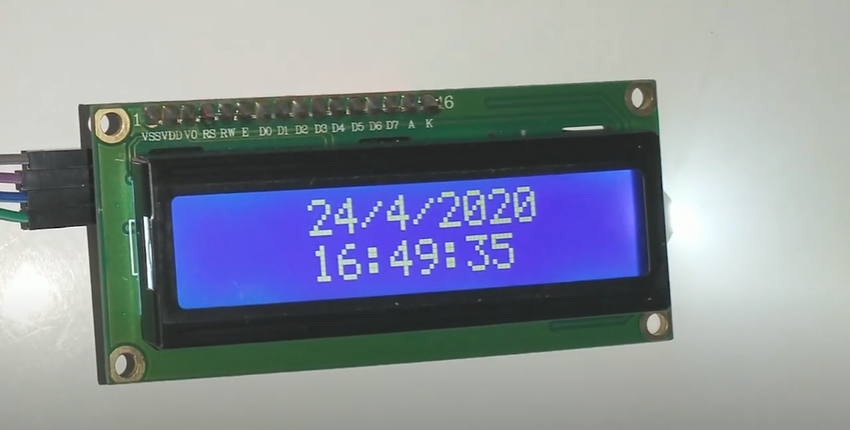
The Result
LCD show the date and time !